


Steam is awesome. It lets you play thousands of games and keeps everything organized. But sometimes you run out of space on your main drive. Or maybe you just want to move your games to a faster SSD. Don’t worry—changing the install directory is super easy!
TLDR:
All Heading
You can change where Steam installs your games by adding a new library folder in Settings. Then, during installation, you can pick this folder instead of the old one. You can also move your installed games to the new location. It’s all built into Steam and takes just a few clicks.
Why Change Your Install Directory?
There are a few reasons why you might want to do this:
- Running out of space on your C: drive? Save to a different one!
- Got a new SSD? Move your games for faster load times.
- Organizing your games by genre or frequency of play? Set up separate folders!
Steam is flexible. You can add as many install locations as you want.
Step 1: Open Steam Settings
This is where the magic starts.
- Open Steam.
- Click on Steam in the top-left corner of the window.
- Select Settings. A new window will pop up.
You’re now in the control center. Let’s go to the storage area.
Step 2: Add a New Install Directory
Here’s how to tell Steam where you want your new games to live.
- In the Settings menu, click on Storage (on older Steam versions, look for Downloads and then Steam Library Folders).
- Click the “+” (Add drive) button.
- Choose the drive where you want to install games.
- Either pick an existing folder or create a new one just for Steam games.
- Click Select. Done!
That’s it—you’ve got a new home for your future games!

Step 3: Installing Games to the New Location
Now when you install a new game, Steam will ask where to put it.
- Click Install on any game.
- You’ll see a drop-down menu called Choose location for install.
- Pick your new folder.
- Click through the rest and install like normal.
That’s it. Easy, right?
Step 4: Moving Existing Games
Already installed a bunch of games? No problem. You can move them without re-downloading anything.
- Go to your Steam Library.
- Right-click on the game you want to move.
- Click Properties.
- Select the Installed Files tab.
- Click the Move install folder button.
- Select your new library and hit Move.
Steam will copy all the files for you. It may take a few minutes depending on the game size.
Image not found in postmetaExtra Tips and Tricks
Already a pro? Here are a few bonus moves for your Steam ninja belt:
- Rename drives to easily recognize them inside Steam.
- Use an external hard drive when you’re low on space.
- Set the new folder as default by clicking on the three dots near its name in the Storage section of Settings.
- Organize by speed—put multiplayer games on SSDs for faster load times.
Common Mistakes to Avoid
Let’s keep things smooth! Here are things to not do when changing install directories:
- Don’t delete the original folder until you’ve moved everything you want to keep.
- Don’t install games directly into root folders like C:\ or D:\. Always use a subfolder (like D:\SteamGames).
- Don’t move files manually in File Explorer. Steam won’t recognize them unless you use the built-in move tool.
How Many Steam Library Folders Can I Have?
As many as you want! Steam doesn’t limit you. You can have:
- One on your SSD for favorites
- One on a big slow HDD for larger single-player games
- One on an external drive for portability
Just remember, you can only install a game to one location at a time. But you can move it later!
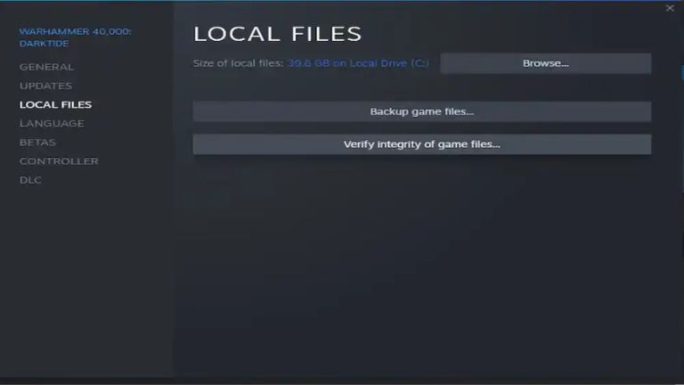
Backing Up Steam Games (Bonus Round!)
If you’re really serious about managing your files, Steam lets you back up games too.
- Right-click on a game in your Library.
- Click Manage, then Backup game files.
- Choose a location and follow the steps.
This can help when switching computers or reinstalling everything fresh.
Troubleshooting and FAQs
Here are a few quick fixes if something goes wrong:
- Game won’t launch? Try verifying the game files from the Properties menu.
- Can’t see the new directory? Make sure it’s added correctly in Settings > Storage.
- Moving takes forever? Big games can take a while, especially from HDD to SSD.
- No option to pick install folder? You probably only have one. Add another in Settings first.
Conclusion: Power User Unlocked
Changing your Steam install directory is quick and painless. It gives you more space, better speed, and more control over your games. Whether you’re a casual gamer or a hardcore collector, this little trick goes a long way.
Now go ahead—move those games, make space, and load up even more titles. Your drives will thank you!


Recent Comments